Shared Maps
Ember Map supports sharing maps between users for real-time collaboration. Individual members or entire teams can be added to a map.

Viewing Map Items
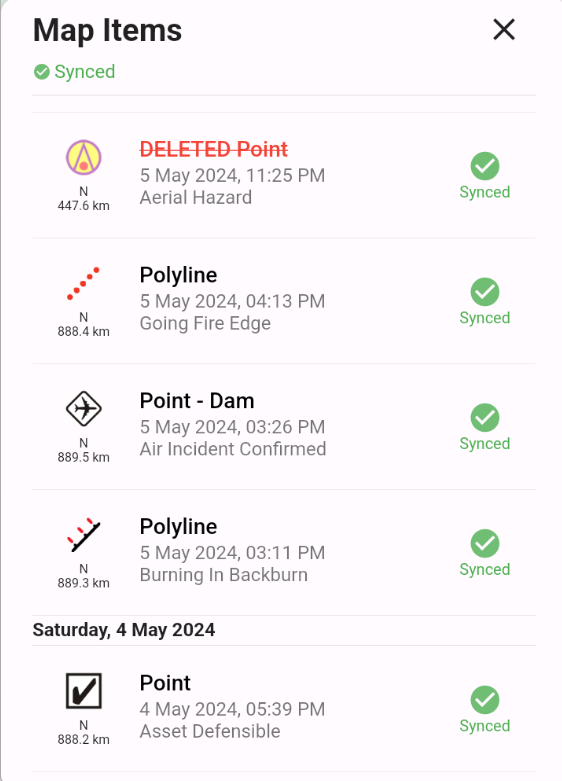
To view map items, click on the Shared Maps button on the main map screen. This button will be green if everything is synced, or red if syncing is required.
Clicking on the View Map Items button will display all the map items. Clicking on an item will refocus the map on that item. Swiping the item will allow you to delete, undelete, or unhide items.

Creating a Shared Map
Create a shared map by clicking the plus button on the main map screen if no other maps are open, or by clicking the add button under Settings > Shared Maps.
After naming the map, you become the owner of that map.
Joining a Map
To join a map, click on a join link sent by a map editor. On mobile, this link will open Ember Map and automatically add you to the map.

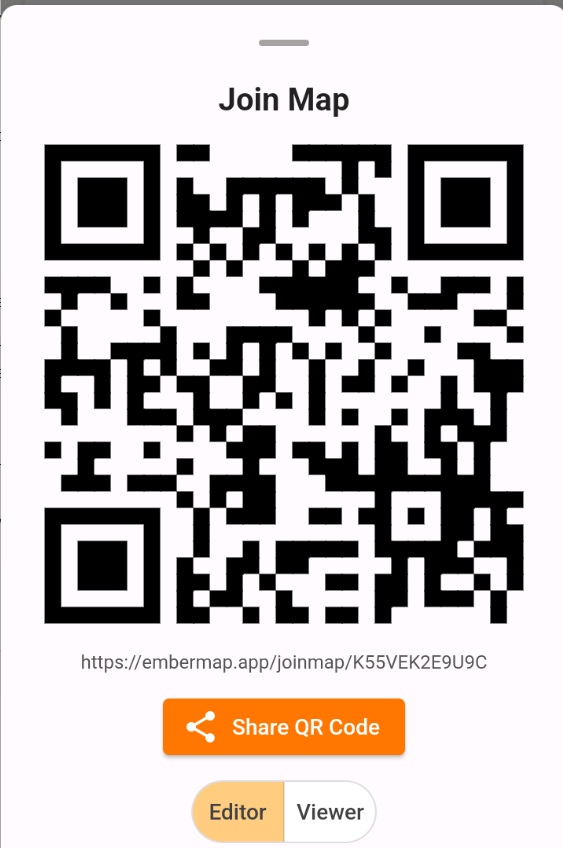
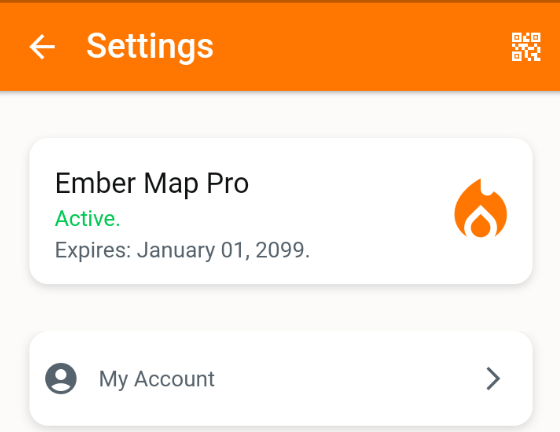
You can also join by scanning a Map QR code. A map editor can open the shared map settings and click the QR Code button to display the QR Code. Then, go to Settings and click the QR button in the top right to scan the code from your device.

Sharing Invite Codes
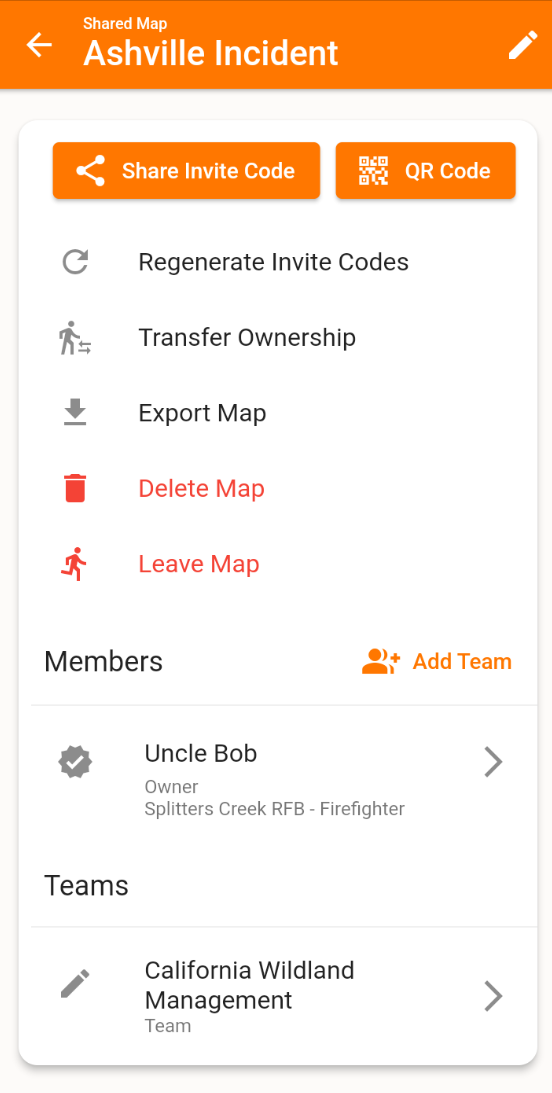
In the shared maps settings page, you can share an invite link or QR code image. QR Codes can be printed or shown from your phone for quick access.
Invite links can be sent via email or SMS and are either editor or viewer links. If needed, you can regenerate invite codes, but this will revoke any currently shared links.
Adding a Team
To add many people to a map at once, first create a team.
After creating your team, go to the shared maps settings page and click add team. You can add the team as map viewers or editors.
Managing Permissions
The map owner and editors can adjust permissions for members and teams. In the shared map settings page, clicking on a member or team will bring up their details. You will see options to remove, promote to editor, or demote to viewer.
Exporting a Map
Ember Map supports exporting maps to KML files.
Leaving a Map
All members except the owner can leave a map by going to the map settings and clicking "Leave Map".
If an owner wishes to leave, they must first transfer ownership to another member.
Transferring Map Ownership
Ownership can be transferred to another member by clicking the "Transfer Ownership" button in the shared maps settings page. Transfer ownership to an individual member, not to a team. Ensure the new owner is added as an individual member before transferring.
Deleting a Map
In the shared settings page, a map can be deleted, which will archive the map and hide it from other members.