Map Objects
Ember Map is adept at handling a plethora of map objects such as markers, polylines, polygons, and circles, enabling a comprehensive fire navigation mapping experience.
Markers
Markers serve the purpose of pinpointing locations on the map with specified latitude and longitude coordinates. The iconography of markers can be tailored to align with US and AUS symbology for denoting incidents, observations, assets, among other things.
Managing Markers
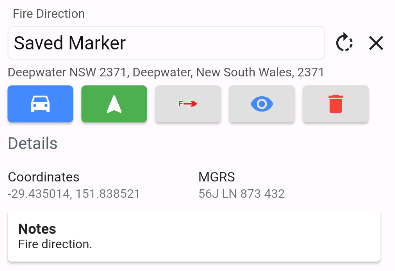
- Visibility & Deletion: Click on a marker and press the respective button to toggle its visibility or delete it.
- Address Display: The address of a marker is shown beneath its title.
- Details Pane:
- An area for jotting down notes regarding your marker.
- Coordinates are displayed in both Latitude and Longitude as well as Military Grid Reference System (MGRS).
- Tapping the coordinates copies them to your device's clipboard.
MGRS coordinates offer a 6-figure grid reference, which is a standard on firegrounds.
Adding Markers
Markers can be introduced to the map in two distinct ways:
- Long Press:
- Long press on the map to drop a pin.
- To save the marker, press the save button on the bottom sheet that appears when a pin is dropped or tapped on.
- Quick Marker Selector Mode:
- Press the quick marker selector button (bottom left of the map) to open its panel.
- Choose a marker and long press on the map to place it.
- Use the edit button to manage which markers are accessible in the quick selector panel.
Moving Markers
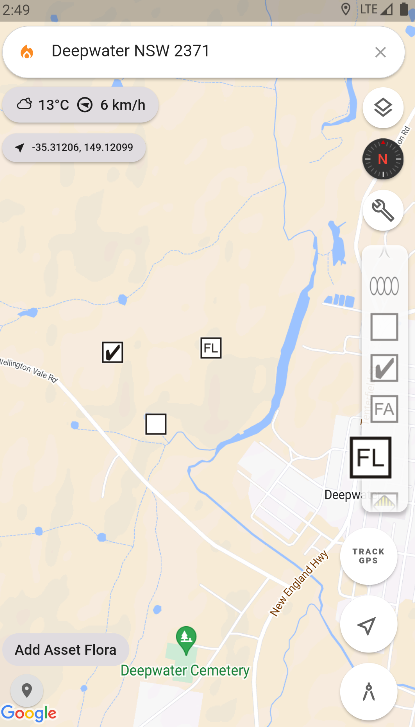
Markers can be moved by long pressing on the marker until it jumps up. You can then move it to the desired location and let go once it is in the correct new location.
Modifying Marker Symbology
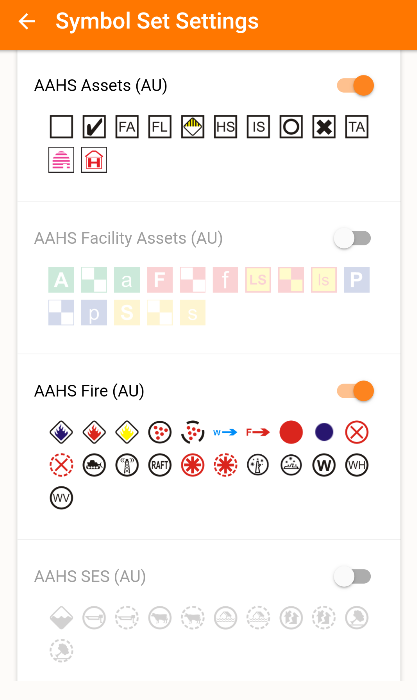
- Navigate to
Settings > Symbol Setsto enable the desired symbol sets. - Select a marker, click the marker symbology button, and choose from the available symbols.
Rotatable Markers
- Some markers, e.g., wind direction, are rotatable.
- Select a rotatable marker, tap to open its bottom sheet, and press the rotate button to adjust its orientation.
Navigating to a Marker
- Click on the marker on the map. To show a driving navigation line on the map, press the blue car navigation button.
- For third-party navigation via Google Maps or Apple Maps, press the green navigation button to open your preferred app, navigating from your current location to the selected marker.

Polylines & Polygons
Embrace the ability to create polylines and polygons in any color with Ember Map.
Adding Polylines & Polygons
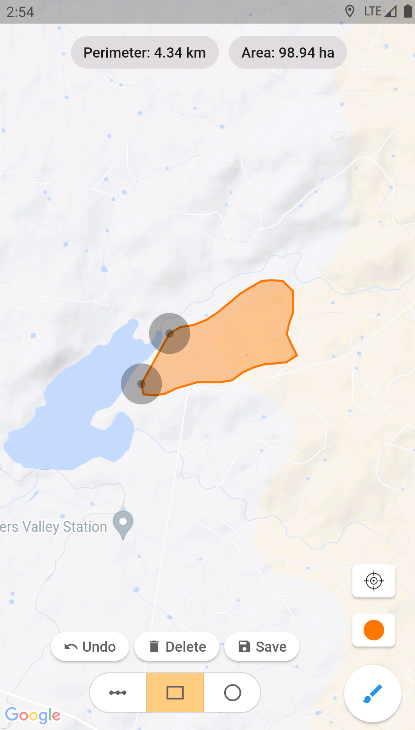
- Click the measure tools button on the map screen to open the finger draw canvas.
- Select between a polyline or polygon, and adjust the color using the color picker button.
- Undo button reverts the last drawn segment. Click save to preserve your polyline or polygon on the map.
- For precise drawing, click the precision target button to add points one at a time using a precise target reticle, rather than finger painting.
- While drawing, the perimeter is shown for polylines, and the area is displayed for polygons and circles.
Circles
Create circles of any color with ease on Ember Map.
Adding Circles
- Open the Measure Tools Drawing Canvas by clicking the Measure Tools button on the map screen.
- The Precision Target button in Circle Draw mode will open the polygon precision drawing tool. Note: Circles do not support precision target drawing.
Managing Saved Map Objects
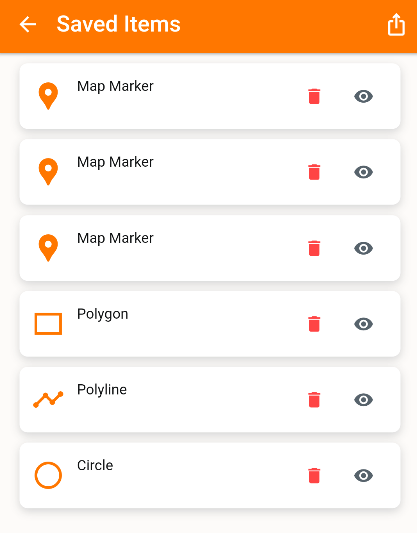
- Navigate to
Settings > Saved Itemsto view or manage your saved map objects. - Click on an object's title to locate it on the map, or toggle its visibility and delete it from the Saved Items screen.
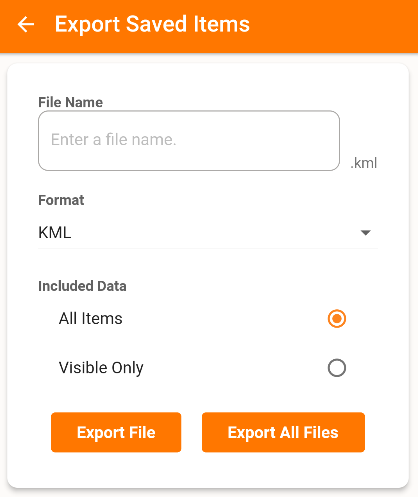
Exporting Map Objects
- Go to
Settings > Saved Itemsand click the Share button on the top-right corner of the screen. - Select between KML or GPX (Markers and Polylines only) export formats.
- Opt to export all items or only the visible ones.
